Can you paint pressure treated wood? The answer is that it’s totally doable—but it’s not as simple as grabbing a brush and going to town. Unlike regular lumber, treated wood comes loaded with preservatives and moisture that make it a different beast when it comes to paint prep. If you want your paint job to last (and not peel or bubble off after a few months), you’ve got to follow the right process. So let’s get into it: when to paint it, how to do it right, and what to watch out for.
So… Can You Paint Pressure-Treated Wood?
Yes, absolutely. But only if you do it the right way. Pressure-treated wood is infused with chemicals designed to resist rot, insects, and moisture—awesome for durability, not so great for painting. Those same chemicals make the wood damp and resistant to adhesion, so if you paint it too soon, the results won’t stick—literally. You’ll end up with a peeling mess and wasted time.
The trick? Let the wood dry out completely before you even think about picking up a paintbrush.
How Long Should You Wait Before Painting?
You can’t rush this part. Fresh pressure-treated lumber can take anywhere from a few weeks to several months to dry out—especially if it hasn’t been kiln-dried. On average, expect to wait about 3 to 4 months. In humid regions, it might be longer. In drier climates, like the Southwest, the wait time may be shorter.
Here’s a simple trick to check if it’s ready: Sprinkle a bit of water on the surface. If it beads up, the wood’s still too wet. If the water soaks in, you’re good to move on.
Why You Should Never Paint Damp Pressure-Treated Wood
If you ignore the drying step, you’re basically setting yourself up for failure. Here’s why:
- Poor Adhesion: Paint won’t stick well to wet wood. It’ll bubble, flake, or peel right off.
- Trapped Moisture: Painting before the wood has dried locks in moisture, which can lead to mold, mildew, and even rot.
- Wasted Time and Money: The whole point of painting is protection and aesthetics. Jumping the gun undoes both.
Bottom line: patience pays off.
How To Do It
Once your wood has fully dried, the painting process is straightforward—just a few more prep steps than with regular lumber.
1. Clean the Surface Thoroughly
Even if your wood looks clean, it probably isn’t. Dirt, mildew, or even the residue from the pressure-treating chemicals can interfere with your paint’s ability to stick. Scrub it down with soapy water and a stiff brush. Rinse thoroughly, then let it dry again (yes, more drying—but this time just a day or so).
2. Choose the Right Primer
This is where a lot of DIYers go wrong. Don’t just grab any primer—make sure it’s labeled for exterior and pressure-treated wood. A high-quality bonding primer will act as a bridge between the wood’s surface and your paint, making everything last longer and look better.
Apply one even coat and let it dry completely. Follow the instructions on the can, especially when it comes to drying time between coats.
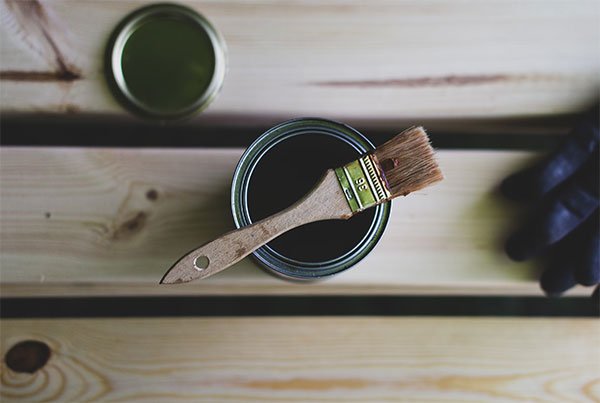
3. Time to Paint (or Stain)
Now for the fun part: adding color. You can choose either paint or stain depending on the look you’re going for.
Paint: Go with a latex-based paint (never oil-based) for the best adherence and flexibility. Apply two coats for maximum durability.
Stain: Stain is a good alternative if you want to show off the natural wood grain. It penetrates rather than coats, which means it’s a little less likely to peel—but it doesn’t offer the same level of color or coverage.
Pro Tip: Use a paint sprayer for large surfaces like decks or fences to save time and get smoother results.
Things to Avoid
Let’s talk about a few missteps that could ruin all your hard work:
Skipping the drying test: Always check if your wood is dry before starting.
Using oil-based paint: It doesn’t stick well to treated wood and can break down faster.
Painting in bad weather: Don’t paint if it’s too hot, too cold, or too humid. Mild, dry weather is ideal.
Applying thick coats: Two thin coats are better than one thick one. Thick paint takes longer to dry and is more prone to peeling.
What About Kiln-Dried Pressure Treated Wood?
Not all treated wood is the same. If you’re in a hurry or working on a tight schedule, you might consider kiln-dried after treatment (KDAT) lumber. It’s pressure-treated like standard wood, but then dried in a kiln to remove excess moisture.
That means it’s ready to paint almost immediately after a quick cleaning and light sanding. Just check the label when you buy—it’ll be clearly marked as kiln-dried.
The Conclusion On Painting Pressure Treated Wood
Painting pressure-treated wood isn’t difficult—it just requires a little patience and planning. Give it time to dry, clean it well, use the right primer, and choose a latex-based paint designed for outdoor use. Done right, painted treated wood can look fantastic and stand up to the elements for years.
In short: yes, you can paint pressure-treated wood—and you can do it well. Just don’t rush the process. The wait is worth the finish.
You can buy the paint you need by clicking the button below!


Leave a Reply